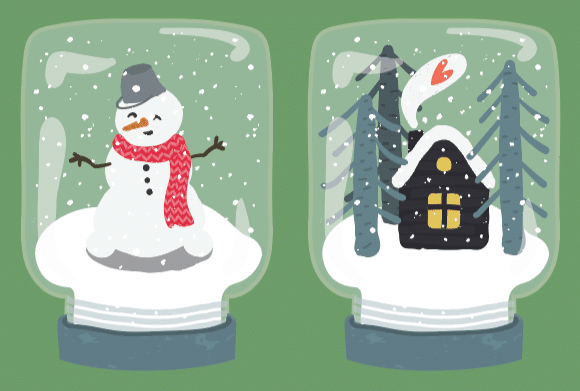
Get ready to dive into the holiday spirit with a magical DIY snow globe! This craft is perfect for kids aged 8 to 14, combining creativity, a bit of science, and lots of festive fun.
Materials Needed:
• A clear, sealable jar (like a mason jar)
• Distilled water
• Glycerin (available at pharmacies)
• Glitter (preferably biodegradable)
• Waterproof craft glue or a hot glue gun (to be used with adult supervision)
• Small waterproof holiday-themed figurines or decorations
• Optional: White paint and a paintbrush
Step-by-Step Instructions:
1. Prepare Your Jar
• Clean the jar thoroughly, ensuring it’s dry inside.
• If desired, paint the jar lid with white paint to give a snowy effect. Let it dry completely.
2. Attach Your Figurines
• Using waterproof craft glue or a hot glue gun, attach your chosen figurines to the inside of the jar lid. Make sure they’re securely fastened and small enough to fit inside the jar with the lid closed.
3. Create Your Snow Globe Liquid
• Fill the jar nearly to the top with distilled water.
• Add a teaspoon of glycerin. This helps the glitter float more slowly, making your snow globe more magical!
• Sprinkle in a pinch of glitter. Remember, a little goes a long way!
4. Assemble Your Snow Globe
• Carefully screw the lid onto the jar, ensuring the figurines are inside and the lid is tight.
• Turn the jar over and give it a gentle shake. Watch the glitter swirl around your festive scene!
5. Safety and Maintenance
• Make sure the lid is securely glued or tightened to prevent leaks.
• Keep your snow globe out of direct sunlight and away from extreme temperatures.
Congratulations! You’ve created your very own holiday snow globe. It’s not only a fun craft but a beautiful decoration to display or a heartfelt gift to give.
Educational Twist
This craft offers a fantastic opportunity to discuss the science of liquids and solids, the concept of density (why the glitter floats), and the properties of glycerin. It’s a perfect blend of learning and festive fun!


